SSO setup using OIDC
This document provides a detailed guide on how to set up the OIDC connector in Filestash. It is divided into 3 main sections:
- Technical Requirements: the prerequisites to follow this guide
- Basic Setup: step by step instructions for the most basic OIDC integration
- Advanced Setup: describes how to use OIDC custom attributes to generate dynamic storage connections
Requirements
Filestash integrates with all OIDC compliant IDPs (including AWS Cognito, okta, auth0, ..etc.). If your IDP is azure, we wrote a specific guide on it which you probably want to read instead as Azure isn’t exactly compliant to the OIDC specs.
With that said, to test this integration, it is assumed you have the details of your IDP available and have registered a new app. For the purposes of this documentation, we will create a dummy OIDC test server running locally with the following configuration:
- openID Config URL: http://localhost:3000/.well-known/openid-configuration
- clientID: my-client
- clientSecret: my-secret
- redirectionURI: http://localhost:8334/api/session/auth/
This local test OIDC server was created via docker using this command:
$ node server.js
mock-oidc-user-server listening on port 3000, check http://localhost:3000/.well-known/openid-configuration
Basic Setup
A basic setup involves 2 steps:
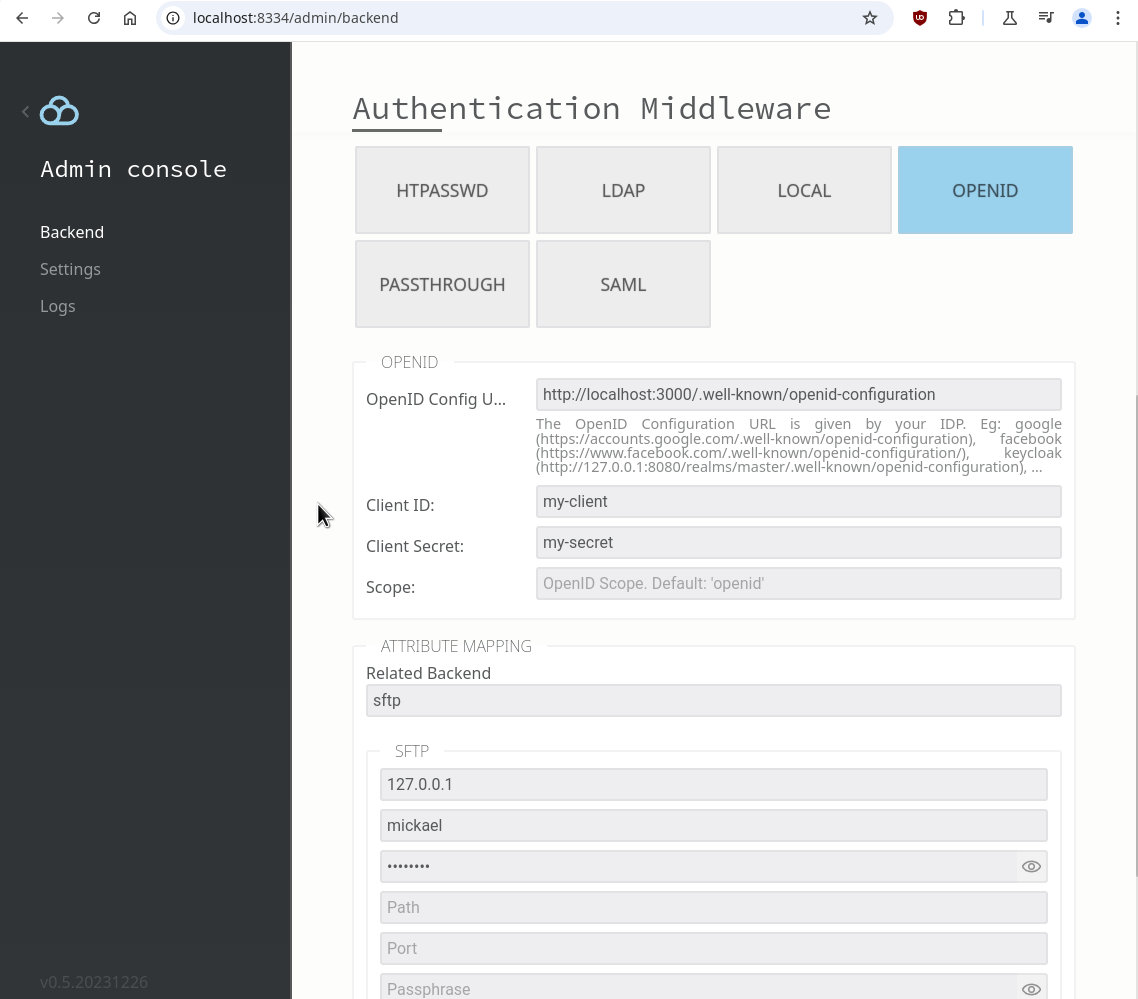
STEP 1: Configure the IDP settings. Here’s an example configuration:

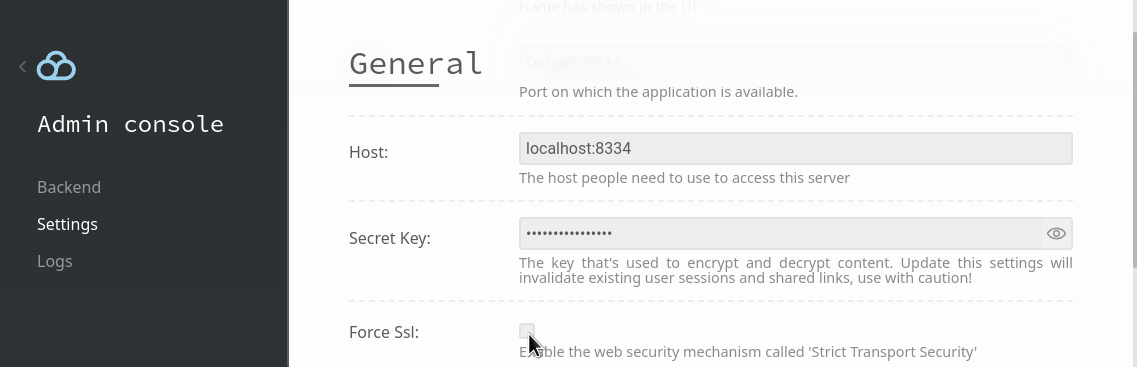
You also need to make sure the application host is setup properly, and enforce the “force SSL” option if you are gonna use TLS as Filestash need that information to generate the correct redirection url
STEP 2: Link your IDP to the chosen storage:
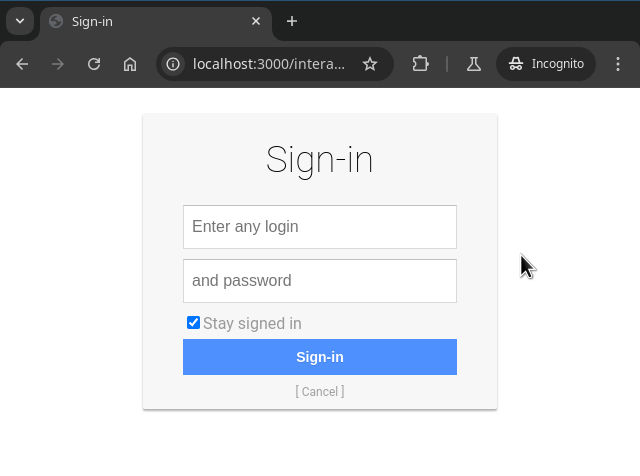
Once configured, users logging in via SFTP will be greeted by your IDP login page, in our test case, it turns out to be:
Advanced Setup
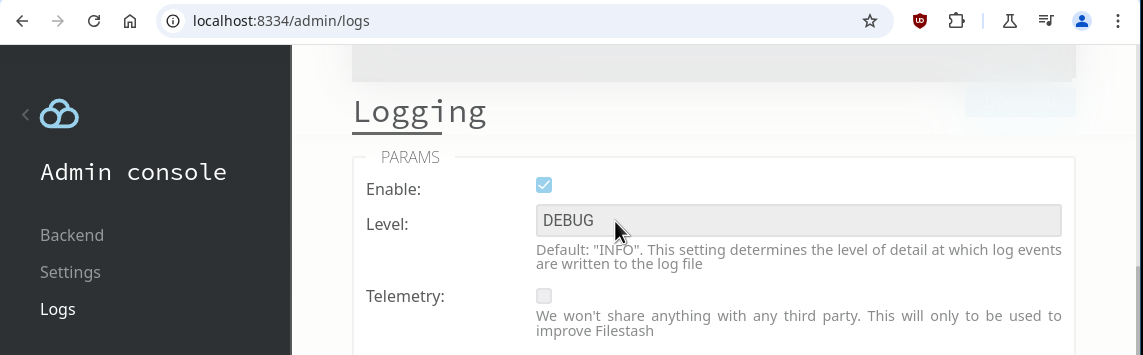
Now that we’ve covered the basics, let’s dive into the cool stuff: using OIDC attributes to create dynamic connection rules. The first step is understanding which attributes does your OIDC server provides. This is different for all IDPs but as a general rule, you can tweek the scope parameter to change that, by default Filestash set it to “openid” but common ones are “profile” and “email”. If your IDP support those, these attributes will be visible in the logs if you set the logging level to DEBUG within /admin/logs:
In my case, the log entry looked like this:
...
2024/12/09 16:49:02 SYST DEBUG USER INFO map[sub:admin]
...
You can utilise any of the returned attributes to connect to your storage. For this example, let’s setup rules where the admin have full access to the entire filesystem, while regular users are restricted to read only their own folder:
- path: {{ if .sub | eq "admin" }}/{{ else }}/home/{{ .uid }}/{{ end }}
- authorization: ls,cat{{ if .sub | eq "admin" }},touch,mkdir,mv,rm{{ end }}
The possibilities are endless. Behind the scenes, you can leverage the entire Go templates ecosystem, enhanced with custom functions to support a wide range of use cases.
If you encounter any issues, feel free to reach out to support, and we’ll help resolve them.